Creating a New Armor Item
In this tutorial we are going to see how to add a new Armor Item for the base meshes of the Human race.
In particular we are going to add an helmet that both the Player and character will be able to equip. The process involves weight painting, which I'll show how to do with Blender (I use Blender 2.81). I'm going to use this model on Sketchfab made by Ole Gunnar Isager.
Requirements & Premise
It is required to use Blender or any other 3D Modelling software of your choice and to download the RPG Creation Kit Basemeshes from this link.
Before going forward I have to do an important premise. In the RPG Creation Kit every equipment item must have the same armature of the basemesh. I'm going to show you how that is accomplished, but you should understand that every equipment item you make for a specific armature will work only with that armature, so if you download a different 3D model for the Basemesh, unless the armature is the same as the RPG Creation Kit's Basemeshes the equipment item will not be correctly attached.
That means you need to pick an armature and stick with it for any other character you want the equipment to work with.
Importing/Exporting in Blender
The goal is to have the Helmet skinned for the Basemesh armature, and we need to do this for both the Male and Female models.
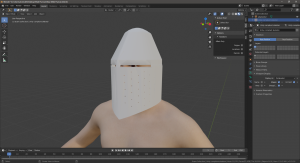
Let's start with the male, open the file "Base Male Human.blend" and Import the .fbx (or whatever else format you have) and move it near the head of the Basemesh. You may want to make some adjustments because it probably won't perfectly fit at the first try. I suggest you use proportional editing for doing that.
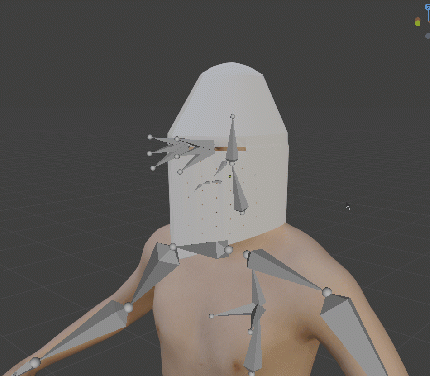
Now press ALT+H to reveal the armature, we need to set the helmet to be a parent of the armature, so click on the helmet, then hold shift and click on the armature and with both selected press CTRL+P and select "With Automatic Weights": Refer to the gif below:
And that's it. You can switch to pose mode to see the result. The helmet will move with the head. Notice that "With Automatic Weights" may not work perfectly for more complex objects so you may require to do some manual weight paint.
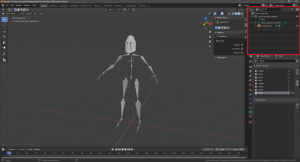
Great, we can export this since we have what we wanted, but before doing that, to save space delete everything else in the blend file to save up space. The head, the upperbody, hands, eyes and everything else is not needed. You should remain with just the armature and the helmet.
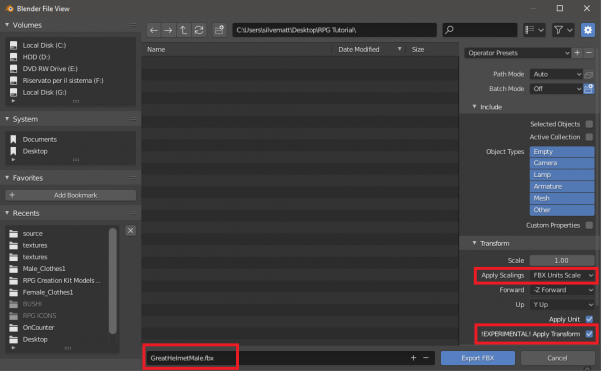
We can now export the Helmet as an .fbx, to do that click on File -> Export -> Fbx. Change the export settings to the red highlighted ones and name it "GreatHelmetMale":
At this point, the helmet is ready to be imported in Unity. But this helmet is set to work only with the Male version of the Basemesh. So what you need to do is to repeat the complete process for the Female basemesh. Once you did that, you should have three files:
- GreatHelmet.fbx (not skinned).
- GreatHelmetMale.fbx (skinned for the Male mesh).
- GreatHelmetFemale.fbx (skinned for the Female mesh).
Once you have those, you can move to the next steps.
Importing in Unity and creating Prefabs
At this point import all the files in Unity and now we are going to create the prefabs for them.
Drop all three files (GreatHelmet.fbx - GreatHelmetMale.fbx - GreatHelmetFemale.fbx) inside a scene, create the materials and apply them to all three helmets.
After applying the material Prefab "GreatHelmet" in the Hierarchy as it is, then name it "GreatHelmetInWorld".
Open "GreatHelmetMale" and Prefab its child "GreatHelmet", then name it "GreatHelmetMaleSkinned".
Open "GreatHelmetFemale" and Prefab its child "GreatHelmet", then name it "GreatHelmetFemaleSkinned".
Notice that the Skinned prefabs we are making have the component "SkinnedMeshRenderer".
Refer to the gif on the right for visualizing the process.
At this point we can move forward to the last step, which is the actual creation of the Item. You can delete the GameObjects we've dropped in the scene, we don't need them anymore.
Creating the Armor Item
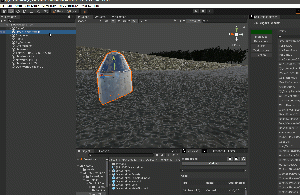
To create a New Armor Item, right click in the Project Window -> Create -> RPG Creation Kit -> Items -> ArmorItem
Name it "[ARMOR] GreatHelmet" and leave it for now, we are going to create the Item In World first. Drop the Prefab we've just made "GreatHelmetInWorld" in the scene, Reach for the top bar "RPG Creation Kit -> Create New -> Item In World" a window will open.
Drag and drop the "GreatHelmetInWorld" prefab we've just dropped in the scene in the "GameObject" field, you can edit the other settings as you may wish, I suggest you leave the default ones. Last thing to do is to setting the "Item Ref" to be the Armor Item we just created, then click on COMPELTE & CLOSE and make sure to Update the prefab.
Refer to the gif on the right for visualizing the process.
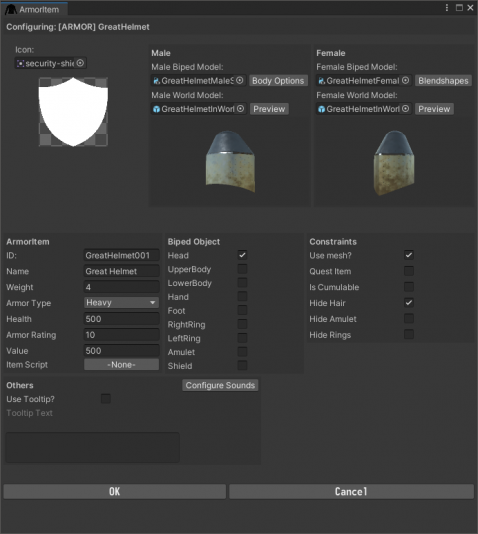
Great! The last step is to configure the Armor Item, select it and look in the inspector for the "Configure Item" button, click it and a Window will open.
Set its ID to be unique, I'll have it to be GreatHelmet001 and its name to be Great Helmet.
Look for the upper-right part of the Window, and let's set the:
- MaleBipedModel to be the GreatHelmetMaleSkinned
- FemaleBipedModel to be the GreatHelmetFemaleSkinned
- Both Items In World to be GreatHelemtInWorld
The configure the rest of the settings as you place, check "Head" in the BipedObject (since we're making an Helmet that will cover the head) and also "Hide Hair":
Click OK to save, then reach for the topbar and UPDATE THE DATABASES, to do that reach for the top bar "RPG Creation Kit -> Update All Databases".
Ok we've finished!
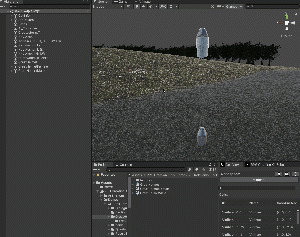
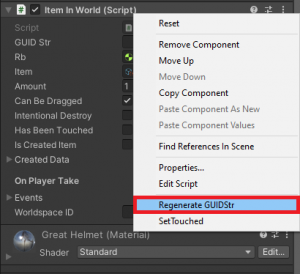
Now you can drop the "GreatHelmetItemInWorld" wherever you want it place it. Do it now, I'll drop it in the Cell "Virrihael(0,1)". After dropping it in the scene look in the Inspector for the ItemInWorld Component, right click on the Component's name and select "Regenerate GUIDStr" that will make that instance of the helmet unique throughout the whole game.
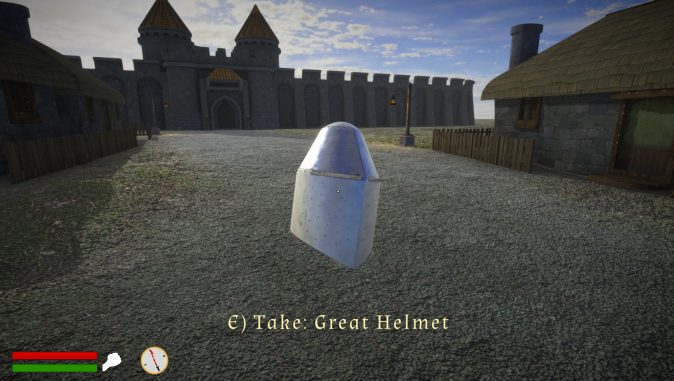
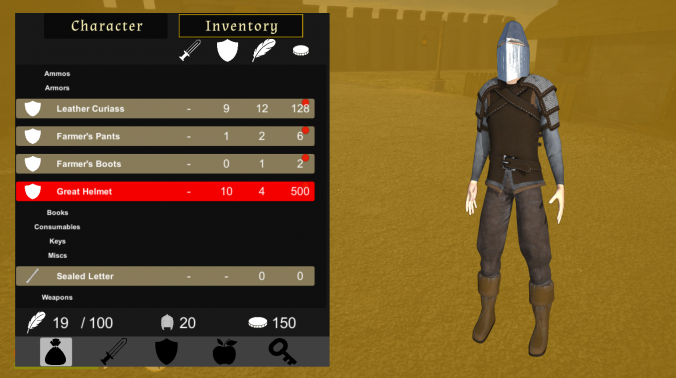
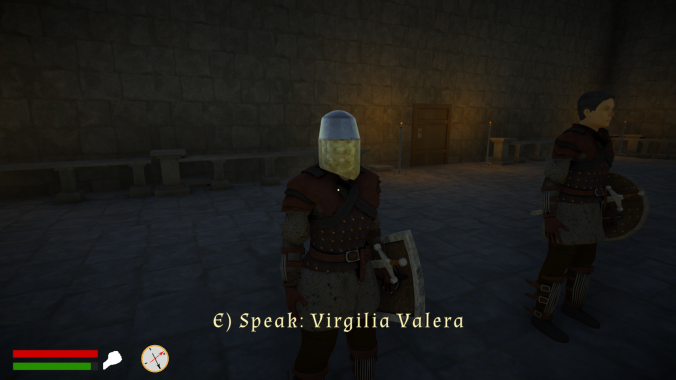
With that out of the way, we can load a savegame from the main menu and reach the point where we dropped the Helmet. You can take it, drop it, equip it and you can make NPCs equip it as well.
⠀
⠀
⠀
⠀
Final Result
Files and Downloads
You can download all the files made in this tutorial at this link.
Make sure to read the LICENSE.txt file!
